Making a sieve
A great way to search for small fossils is to use a 1mm sieve (or 0.5mm for really small stuff). The advantages of this technique are that it can be done at leisure once the field samples are collected and it doesn't require especially good collecting conditions, just so long as the required deposit is visible. It will of course target small fossils such as teeth, seeds, fish remains etc from the Cromer Forest-bed. Sieving can also be used on Chalk, once it has been broken down by some method such as Glauber's salts or freeze-thawing repeatedly.
Making a sieve from a beer crate
You can get a beer crate from wholesalers or beer supermarkets for free or next to nothing. Select a light weight one that has a decent base and solid sides. Purchase some stainless steel wire mesh. It is expensive. I got mine by mail order from G. Bopp & Co Ltd Grange Close, Clover Nook Industrial Park, Somercotes, Derbyshire DE 55 4QT UK Telephone: +44 (0) 1773 521 266) and ordered the minimum quantity, which was enough to make four sieves and cost £83 in 2016.
| Select a beer crate that is light weight with good handles. | 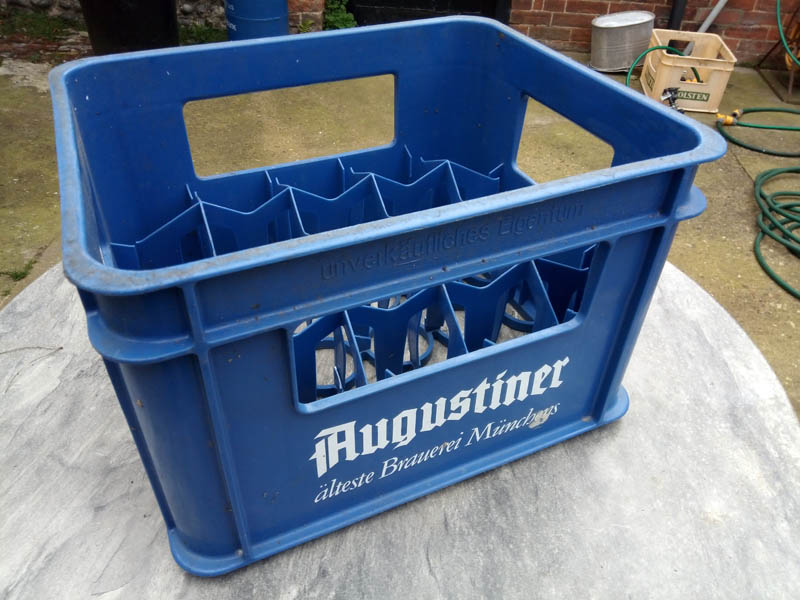 |
| Snip out the divisions roughly with shears fairly close to the base and sides. | 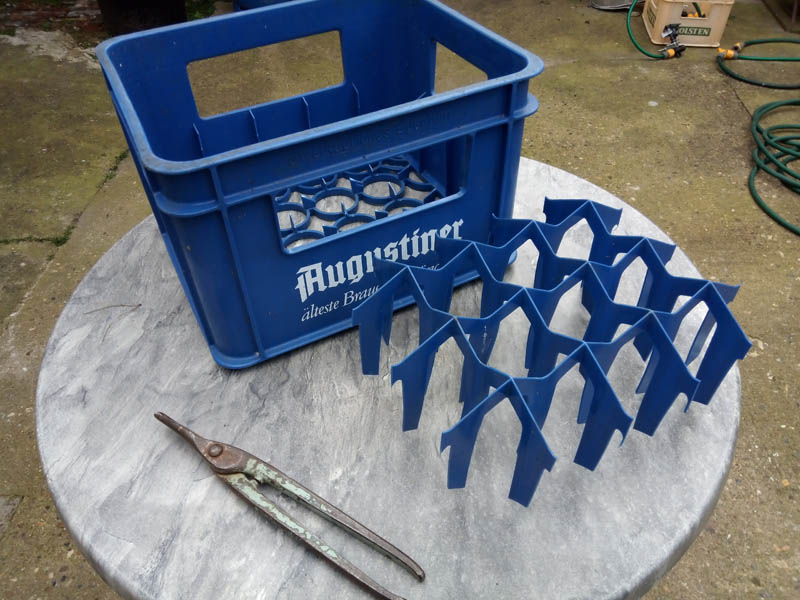 |
| Remove the basal stubs of the dividers with heavy duty scissors. | 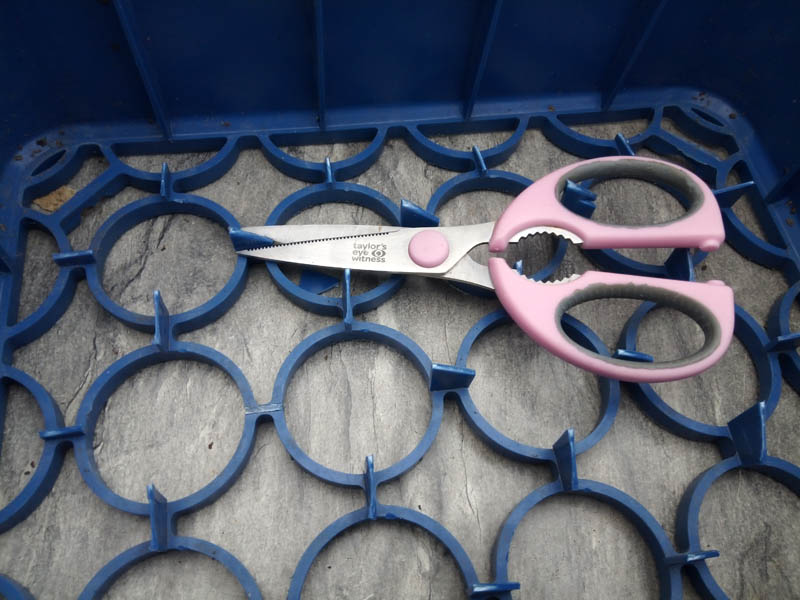 |
| Saw off the stubs of the dividers from the walls | 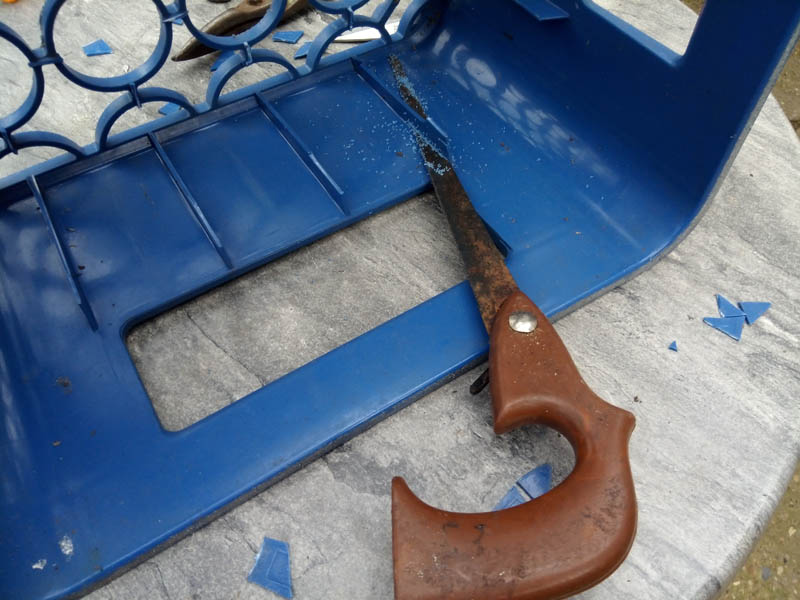 |
| Clean up any remaining parts with a chisel until the inside is smooth. | 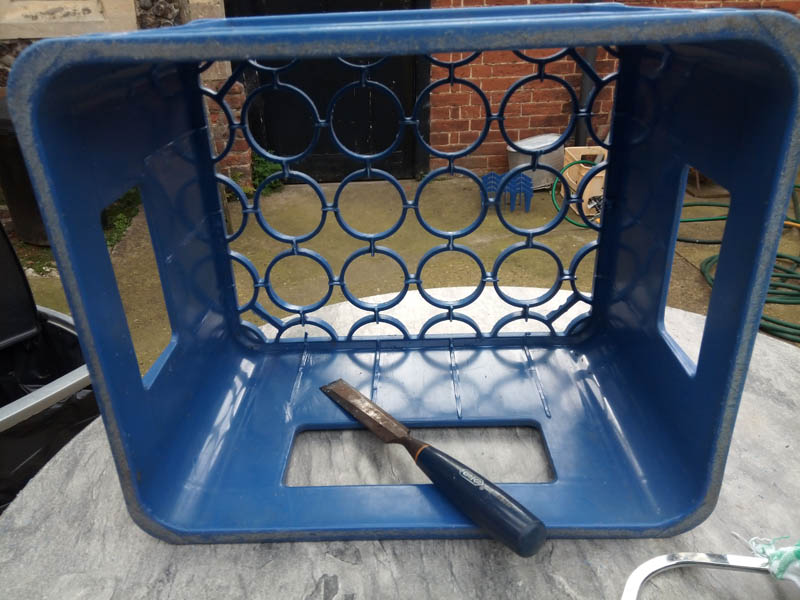 |
| Cut the mesh 1 cm larger than the inside of the sieve. | 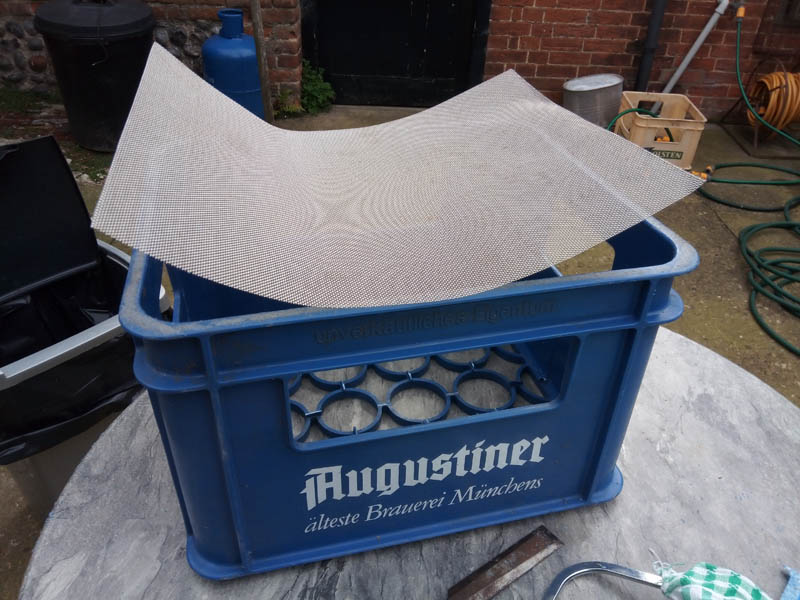 |
| Mark the corners for removal so it fits the internal shape neatly | 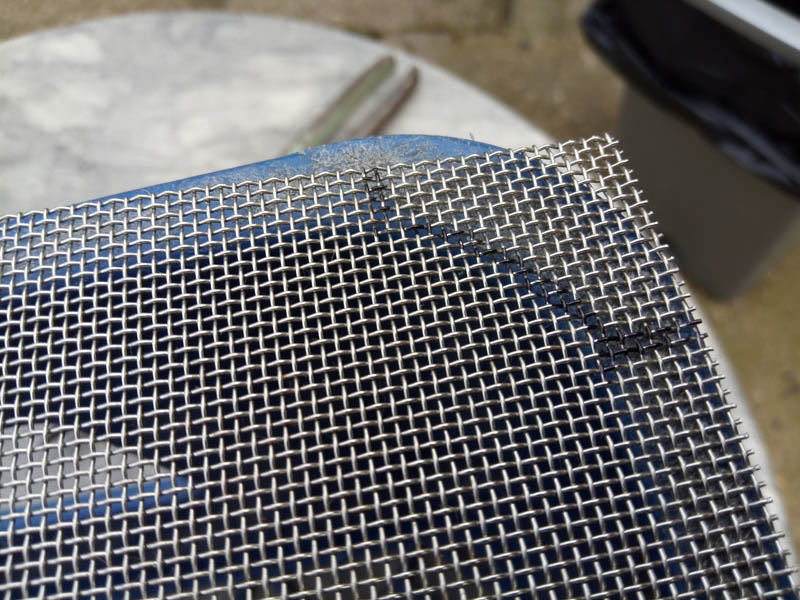 |
| Cut out the corners with shears. | 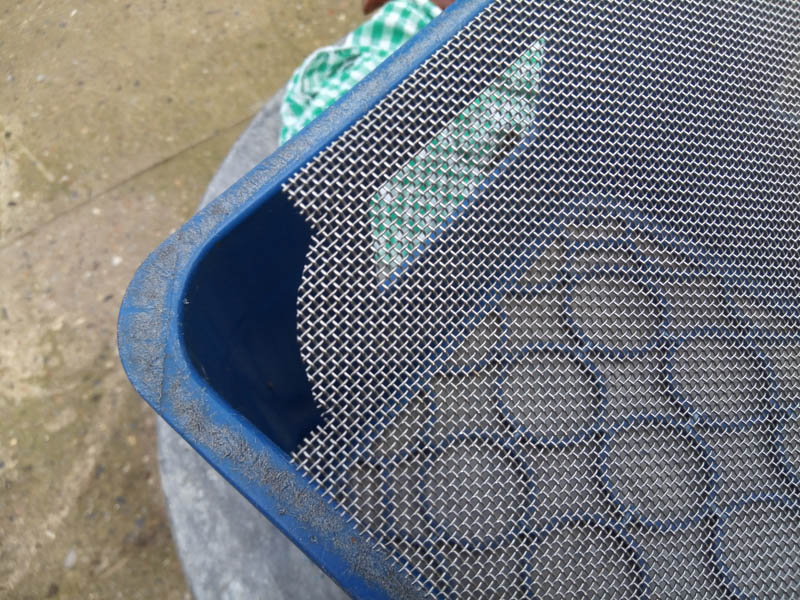 |
| Turn up the edges around a piece of wood. |  |
| Place the mesh into the crate to check it for size. | 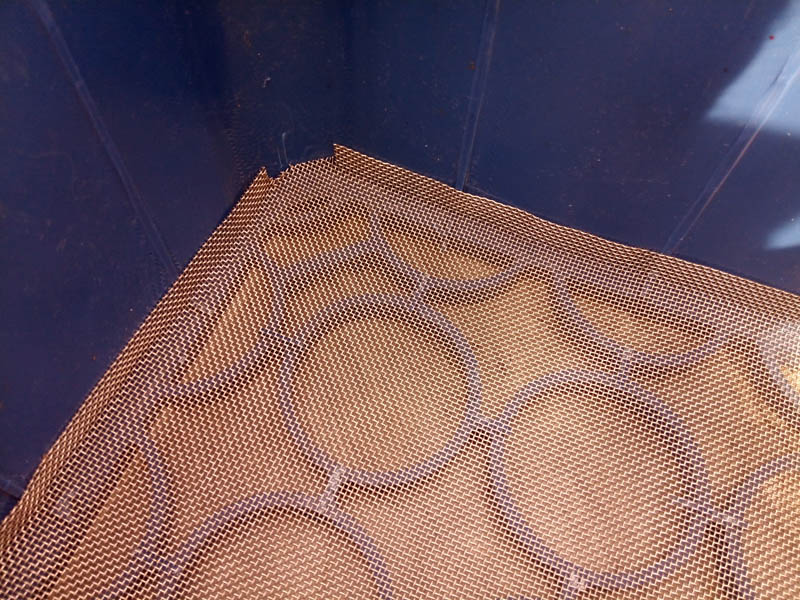 |
| Using a hot air stripper and a long screwdriver, heat the wire and plastic and press it home until the plastic wells-up. Take away the heat and hold the mesh in place for a few seconds until it cools (you can spray it with water if you like). Go all round the edges and pin at selected points in the middle. | 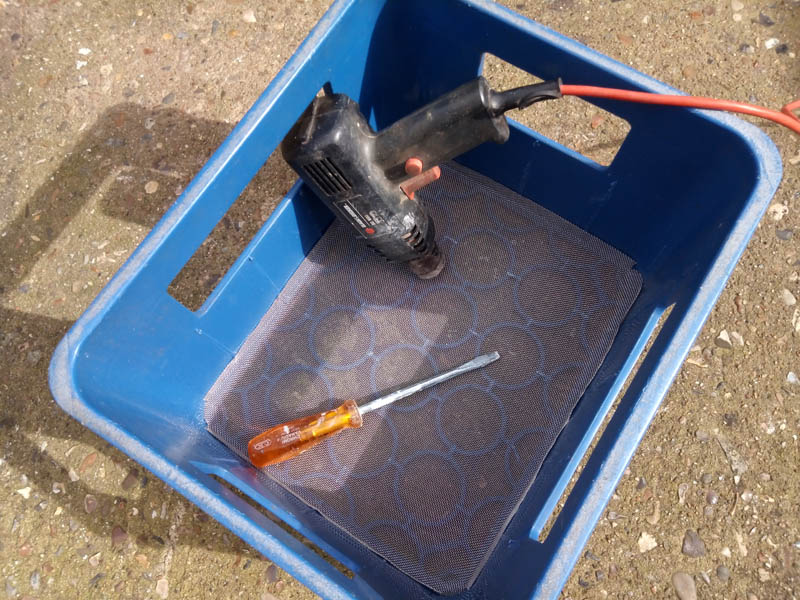 |
| Make sure the mesh is welded securely into the base of the sieve. | 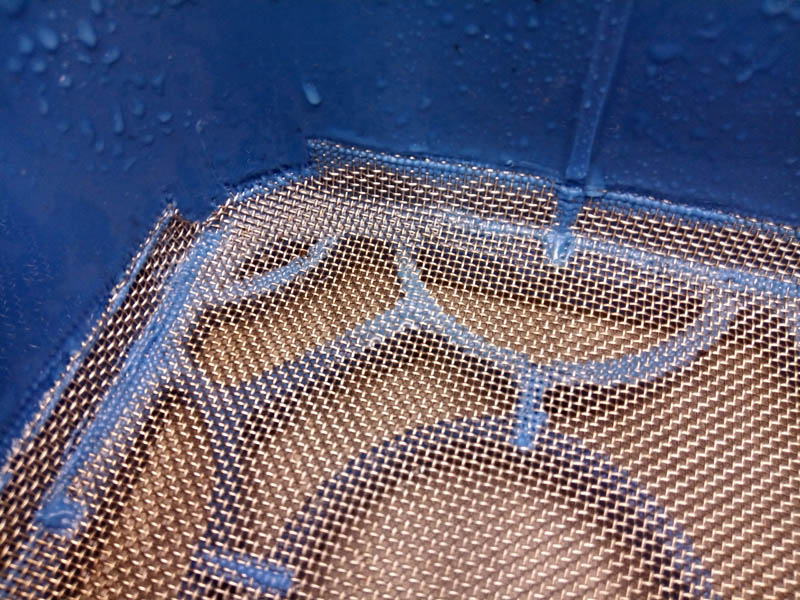 |
| The finished sieve, ready for many years of service. | 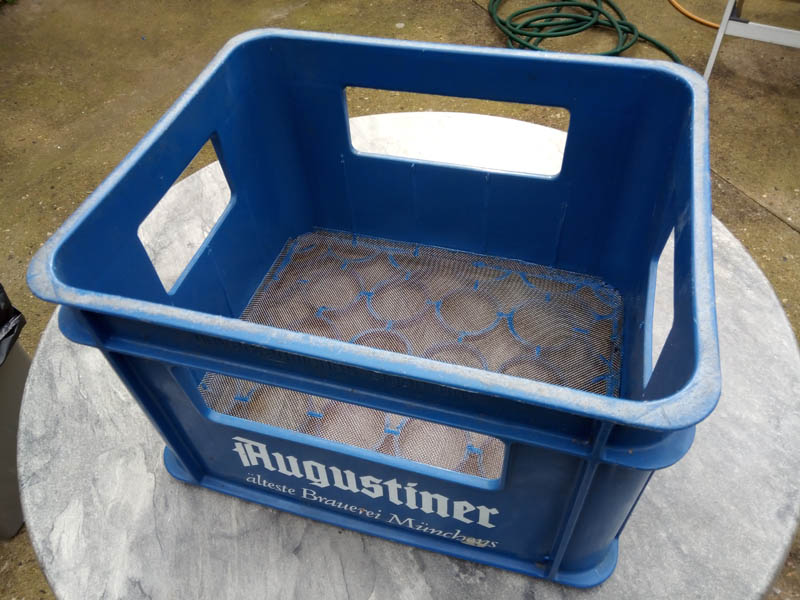 |
To wet sieve
For scientific work it is essential to record the details of the bed and locality in your field notebook and to give the sample a number so that it can be documented. Load the sieve with sediment (not too much in one go) and take it to a puddle, stream, rock pool etc with at least 15 cm of water in it. Running water is even better. Now swoosh it around and the fines will pass through the mesh. I find that a variety of actions is most efficient and easiest on the back and arms. Up and down; rotating, rocking. Doing all of these in turn will see your load diminish as rapidly as possible. You can discard large stones there and then and you can break resistant lumps down with your hand. Get it as good as you can in the field and you will reduce weight and won't have too much to do when you get home.
Processing at home or in the lab
Once home you should wash the residue using a hose spray or sieving machine to clean it thoroughly. Then drain the sieve and transfer the residue to a drying tray. I use a baker's bread tray lined with a pile of several whole broadsheet newspapers (or a smaller one lined with tabloid newspapers). Spread out the residue evenly on the newspapers and leave it in a warm place for around 15 minutes. The excess water will be wicked into the newspaper and then you can withdraw a few saturated top sheets to reveal dry ones beneath. Spread the residue out again and leave another 20 minutes. Keep doing this until the residue is almost dry. Leaving it a little bit damp will help to suppress dust (especially important if you are doing this at home and are married). When dry, grade the residue through two sieves - a coarser sieve (e.g. a fine garden sieve of say 5 - 6 mm mesh) and a finer one (say 3 mm). Put each fraction into separate containers and you can search them separately. By doing this it makes searching more efficient, as small things can't hide behind big ones. Most importantly, label your residue samples with their sample numbers or the full data,so you don't forget where they came from.
Searching
You will need some magnification to do this properly and good illumination. Either use a strong magnifying glass, some magnifying spectacles or best of all a 5X or 10X binocular microscope. Tip a teaspoon- or a tablespoon-full of the residue into a shallow box lid, give it a shake to spread it around evenly and start searching. Have in your hand either some delicate forceps, or a fine paint brush with which to extract the finds. You will also need some small containers into which you can drop your finds. It might help to have separate pots or cells in order to separate bones from teeth and seeds from shells etc.
Compiled by Martin Warren. Last updated 15.2.2017.
Storage
Finds can be stored in small glass or plastic tubes with stoppers. Then these can be stored in shallow drawers or in boxes. It is essential to place a label inside each container with either the full data or at least the sample number that relates to your documentation system. Identification of the finds can proceed at a later date and may need reference to the literature, the interweb, or by consulting a reference collection, an expert, or both. Any special finds can be taken out of the sample and stored individually (with their data of course) so as to better document and curate the good stuff.